Noelle Wiegand
Collections Management Intern
The Summer Art Series class, “Intro to Metal Casting” began by each student discussing who they were and why they were interested in the metal casting class. Many of the students stated that it’s something that they’ve always wanted to explore, but hadn’t had the opportunity. The students then discussed what they wanted to get out of the class. One of the students is an art teacher, and is hoping to incorporate casting into her class’s curriculum in the future.

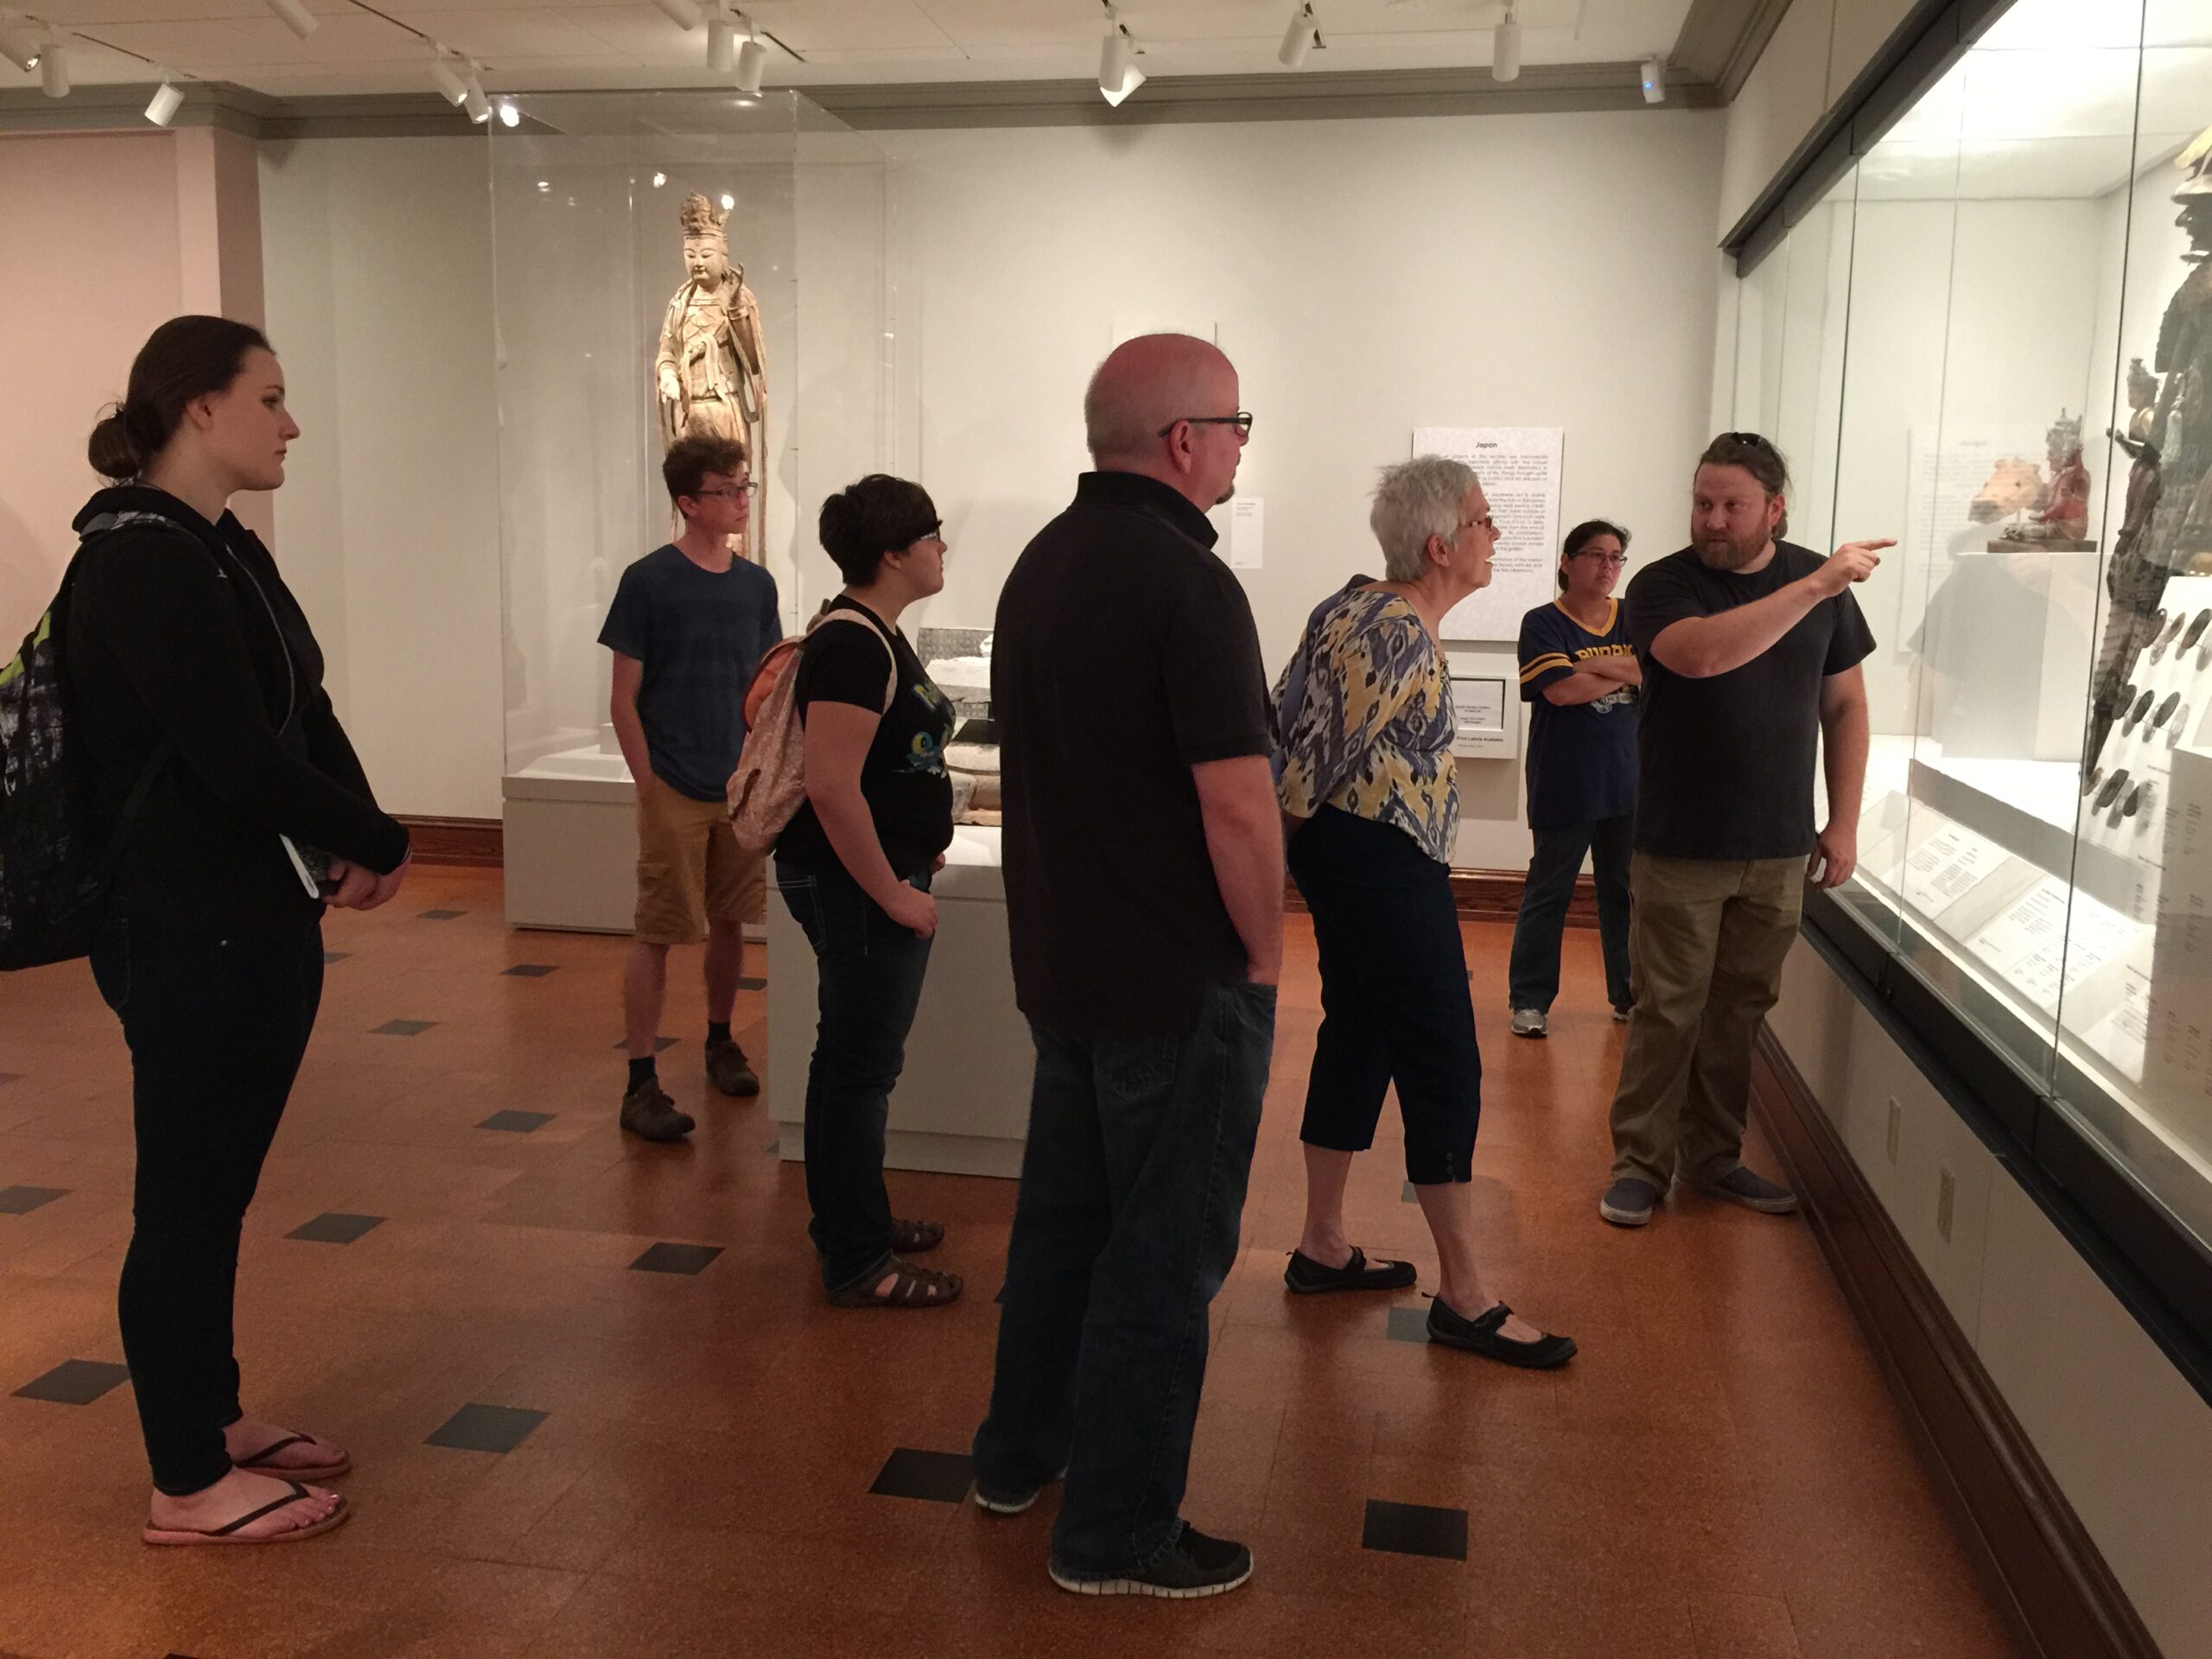
The students walking through the galleries with Aaron. Aaron briefly explained how the items on view had been made.
Once the class established some goals, Aaron Nicholson, the instructor, began to explain various methods of casting. The class was first introduced to the casting process through video. With some brief knowledge on the casting process, the group ventured throughout the museum’s collection. The class looked at multiple cast objects throughout the museum, both on and off view. Aaron explained to the group how each object was made, cast, and finished.
The following day, the class began by meeting for an art history lesson that focused on metal casting objects throughout history. Many of the students gained inspiration from Nicholson’s presentation. The students then proceeded to experimented carving their future castings with blue and white Styrofoam. The students’ final projects would be carved out of the Styrofoam and then cast into aluminum. The following Saturday, Nicholson asked the students to bring in their final foam sculptures. The student’s sculptures were then attached to a main piece of foam called a sprue. The sprue acts as a channel for the aluminum to flow through. Once the foam sculptures had been sprued, the students painted them with a refractory. The refractory would act as a barrier between the sculpture and the sand. This refractory was made of various elements including zircon and clay. The students let their pieces dry completely before submerging them in the silicon sand.
The next step in the metal casting process was to create a funnel through which the metal was poured. The students took ceramic pots and hammered a square hole in the bottom, to securely hold the sprue in place. Once the piece was sprued and assembled, the students could place their work into the silicon sand. The class used various metal buckets to encase the foam sculptures during the casting process. After the class placed their work into the sand, the furnace was then “charged.” Charging is the process of putting metal into the crucible to melt. The class took turns pouring the molten aluminum into the mold. When the aluminum was poured onto the foam, the foam evaporated at the rate the metal was poured into the mold. This process is called evaporation casting. Once the metal had cooled, the class poured out the sand to expose their newly cast objects.
The final day of class was devoted to cleaning up the metal sculptures. The refractory that encased the aluminum had turned into a black and flaky substance. The students used metal brushes to clean the surface of the aluminum. Once the surface of the metal was clean, the sculptures were to be cut off of their sprues. The class used a portable band saw to remove the sprue from the sculptures. A set of files and metal brushes were used for additional clean up of the metal. The sculptures made by the class were diverse in subject matter. A few students went for a purely sculptural aesthetic, while others took the functional approach in the form of jewelry. The students enjoyed the workshop and the community style class was both fun and informative.
.


Comments:
hey you misspelled my name, it’s Oona, not Una. but other than that this article is pretty much spot on